
The brands page is the main page on the build.yesoms.com platform, and the page where you will manage your various brands. The page is broken down into various components, as seen here:

The screen header
The blue section is the header, with information as to who is logged in, a hidden menu, help section and a user image (when logged in with Google).
![]() - Clicking the “hamburger” menu () in the header, will open a side menu which has your user image, your username, associated email, as well as the logout icon (
- Clicking the “hamburger” menu () in the header, will open a side menu which has your user image, your username, associated email, as well as the logout icon (![]() ), a list of your brands, and a link to create a new brand.
), a list of your brands, and a link to create a new brand.
![]() - Clicking the “help icon” will take to you here - to the online forum for the screen you are on. Click this if you need a walkthrough on any screen to learn how to use it.
- Clicking the “help icon” will take to you here - to the online forum for the screen you are on. Click this if you need a walkthrough on any screen to learn how to use it.
The Admin Area.
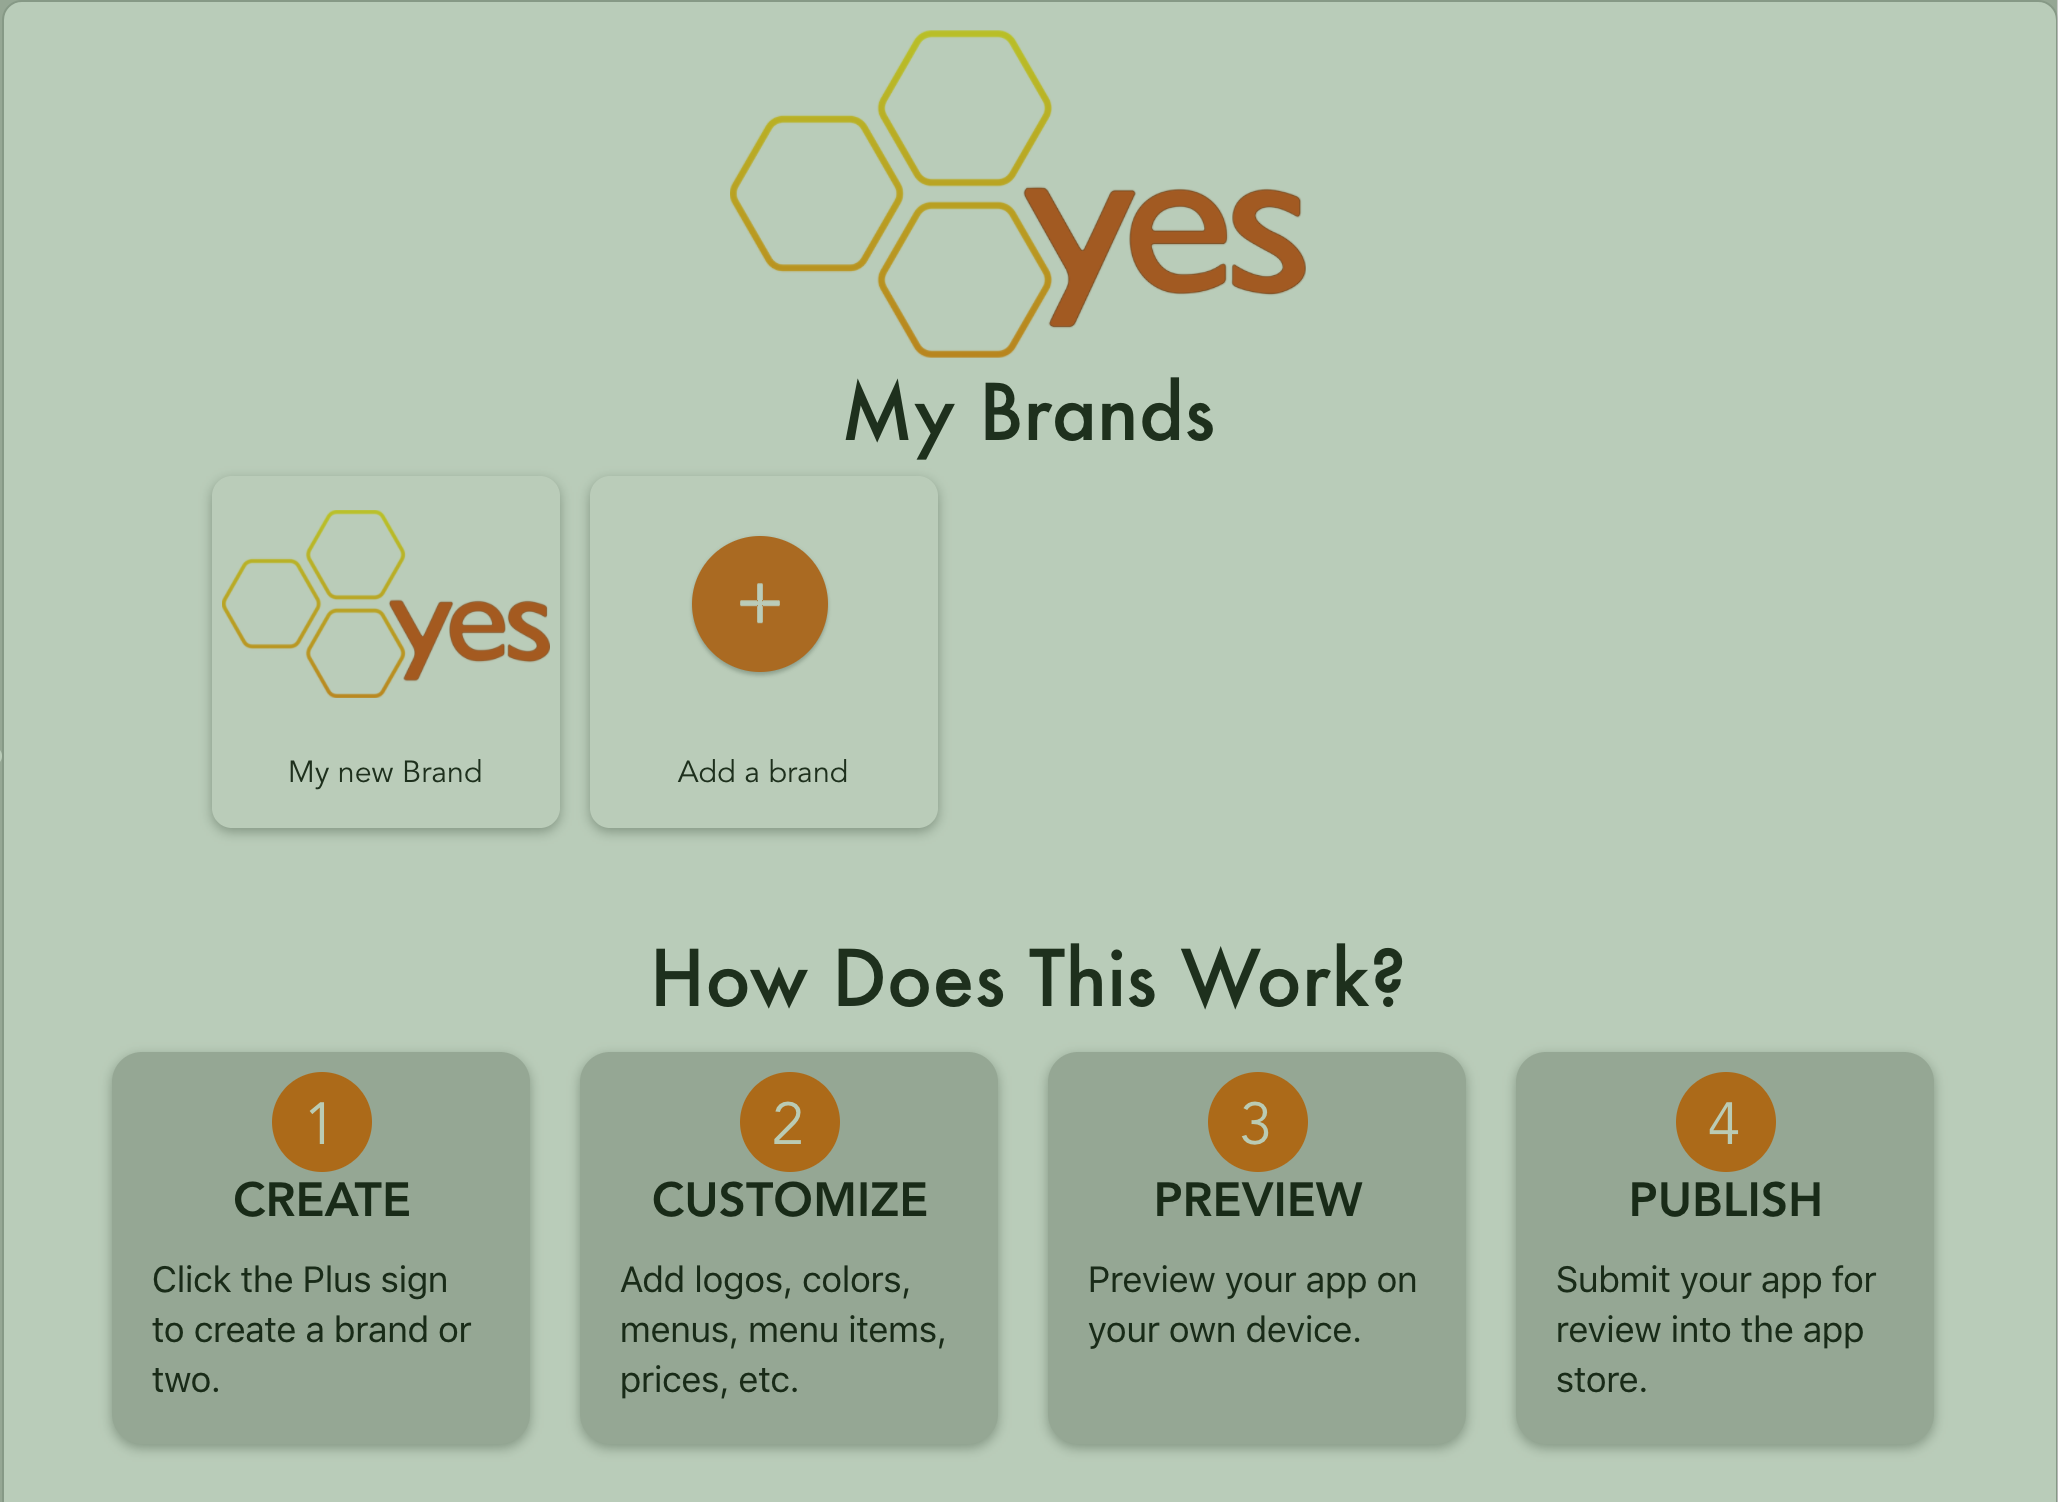
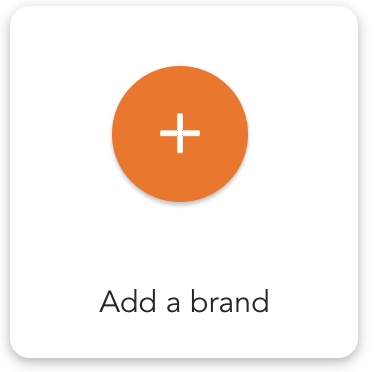
The green section is the main area of the screen. It is here that you will manage your brands, your brand details, menus, menu items, customizations, etc. On this particular screen, you can start by clicking or tapping the “Add a brand” icon:
 which will create a default brand for you:
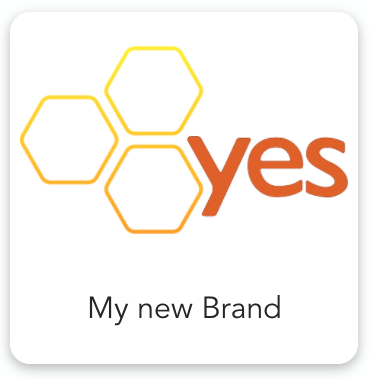
Click on the default brand to be taken to the “Brand Details” screen where you can manage you brand colors and logos, your available menus, as well as other app configurations (colors, images, text, etc.).
Note - while it is easy to create brands, it is more difficult to delete them. This is by design, so that you don’t accidentally delete something that may be live on the production servers. We are working on a way for you to delete brands only when you are absolutely sure you want to do it, but seeing as there is no limit to the number of brands you can have, feel free to make more than one if you would like.
The App Mockup
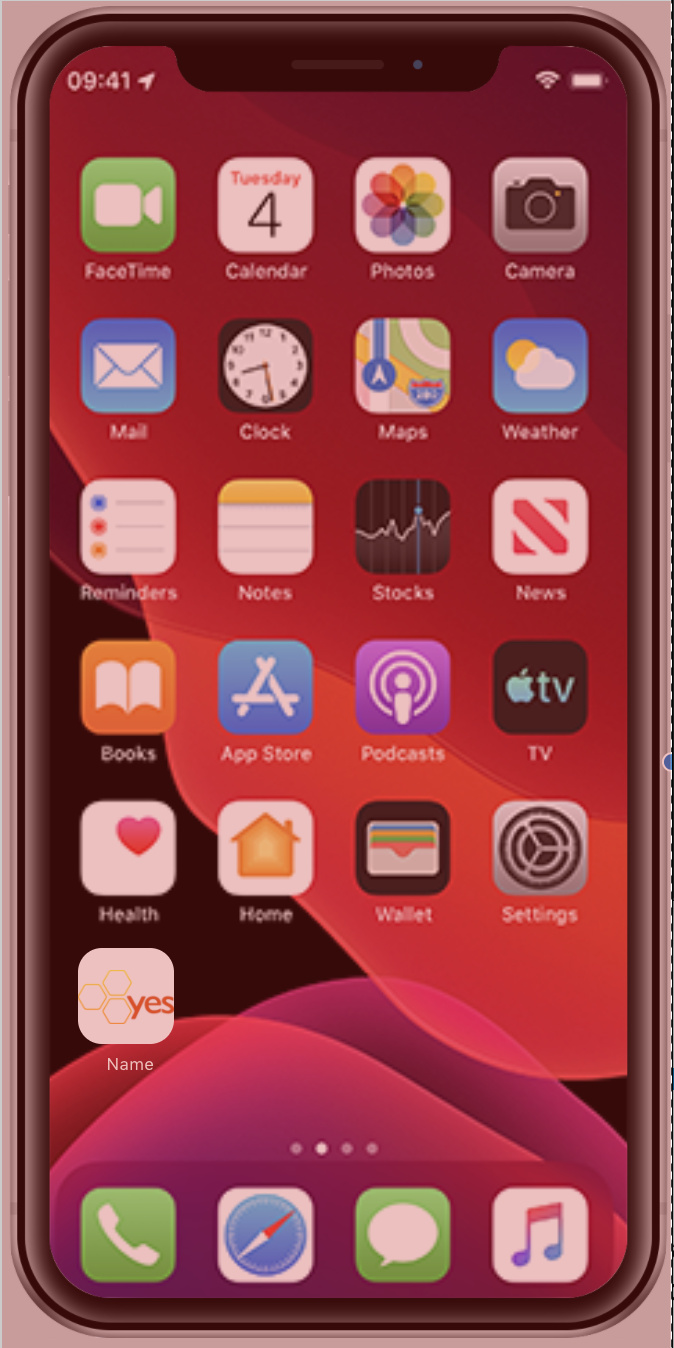
The red area is where you will find mockups of the app(s) you are building. Each mockup will be representative of the items on the main area of the screen, and should give you a rough indication as to what you are building. But when the times comes to see it live on a device or simulator, you will need several other tools which will be described on the “Brand Details” screen.