
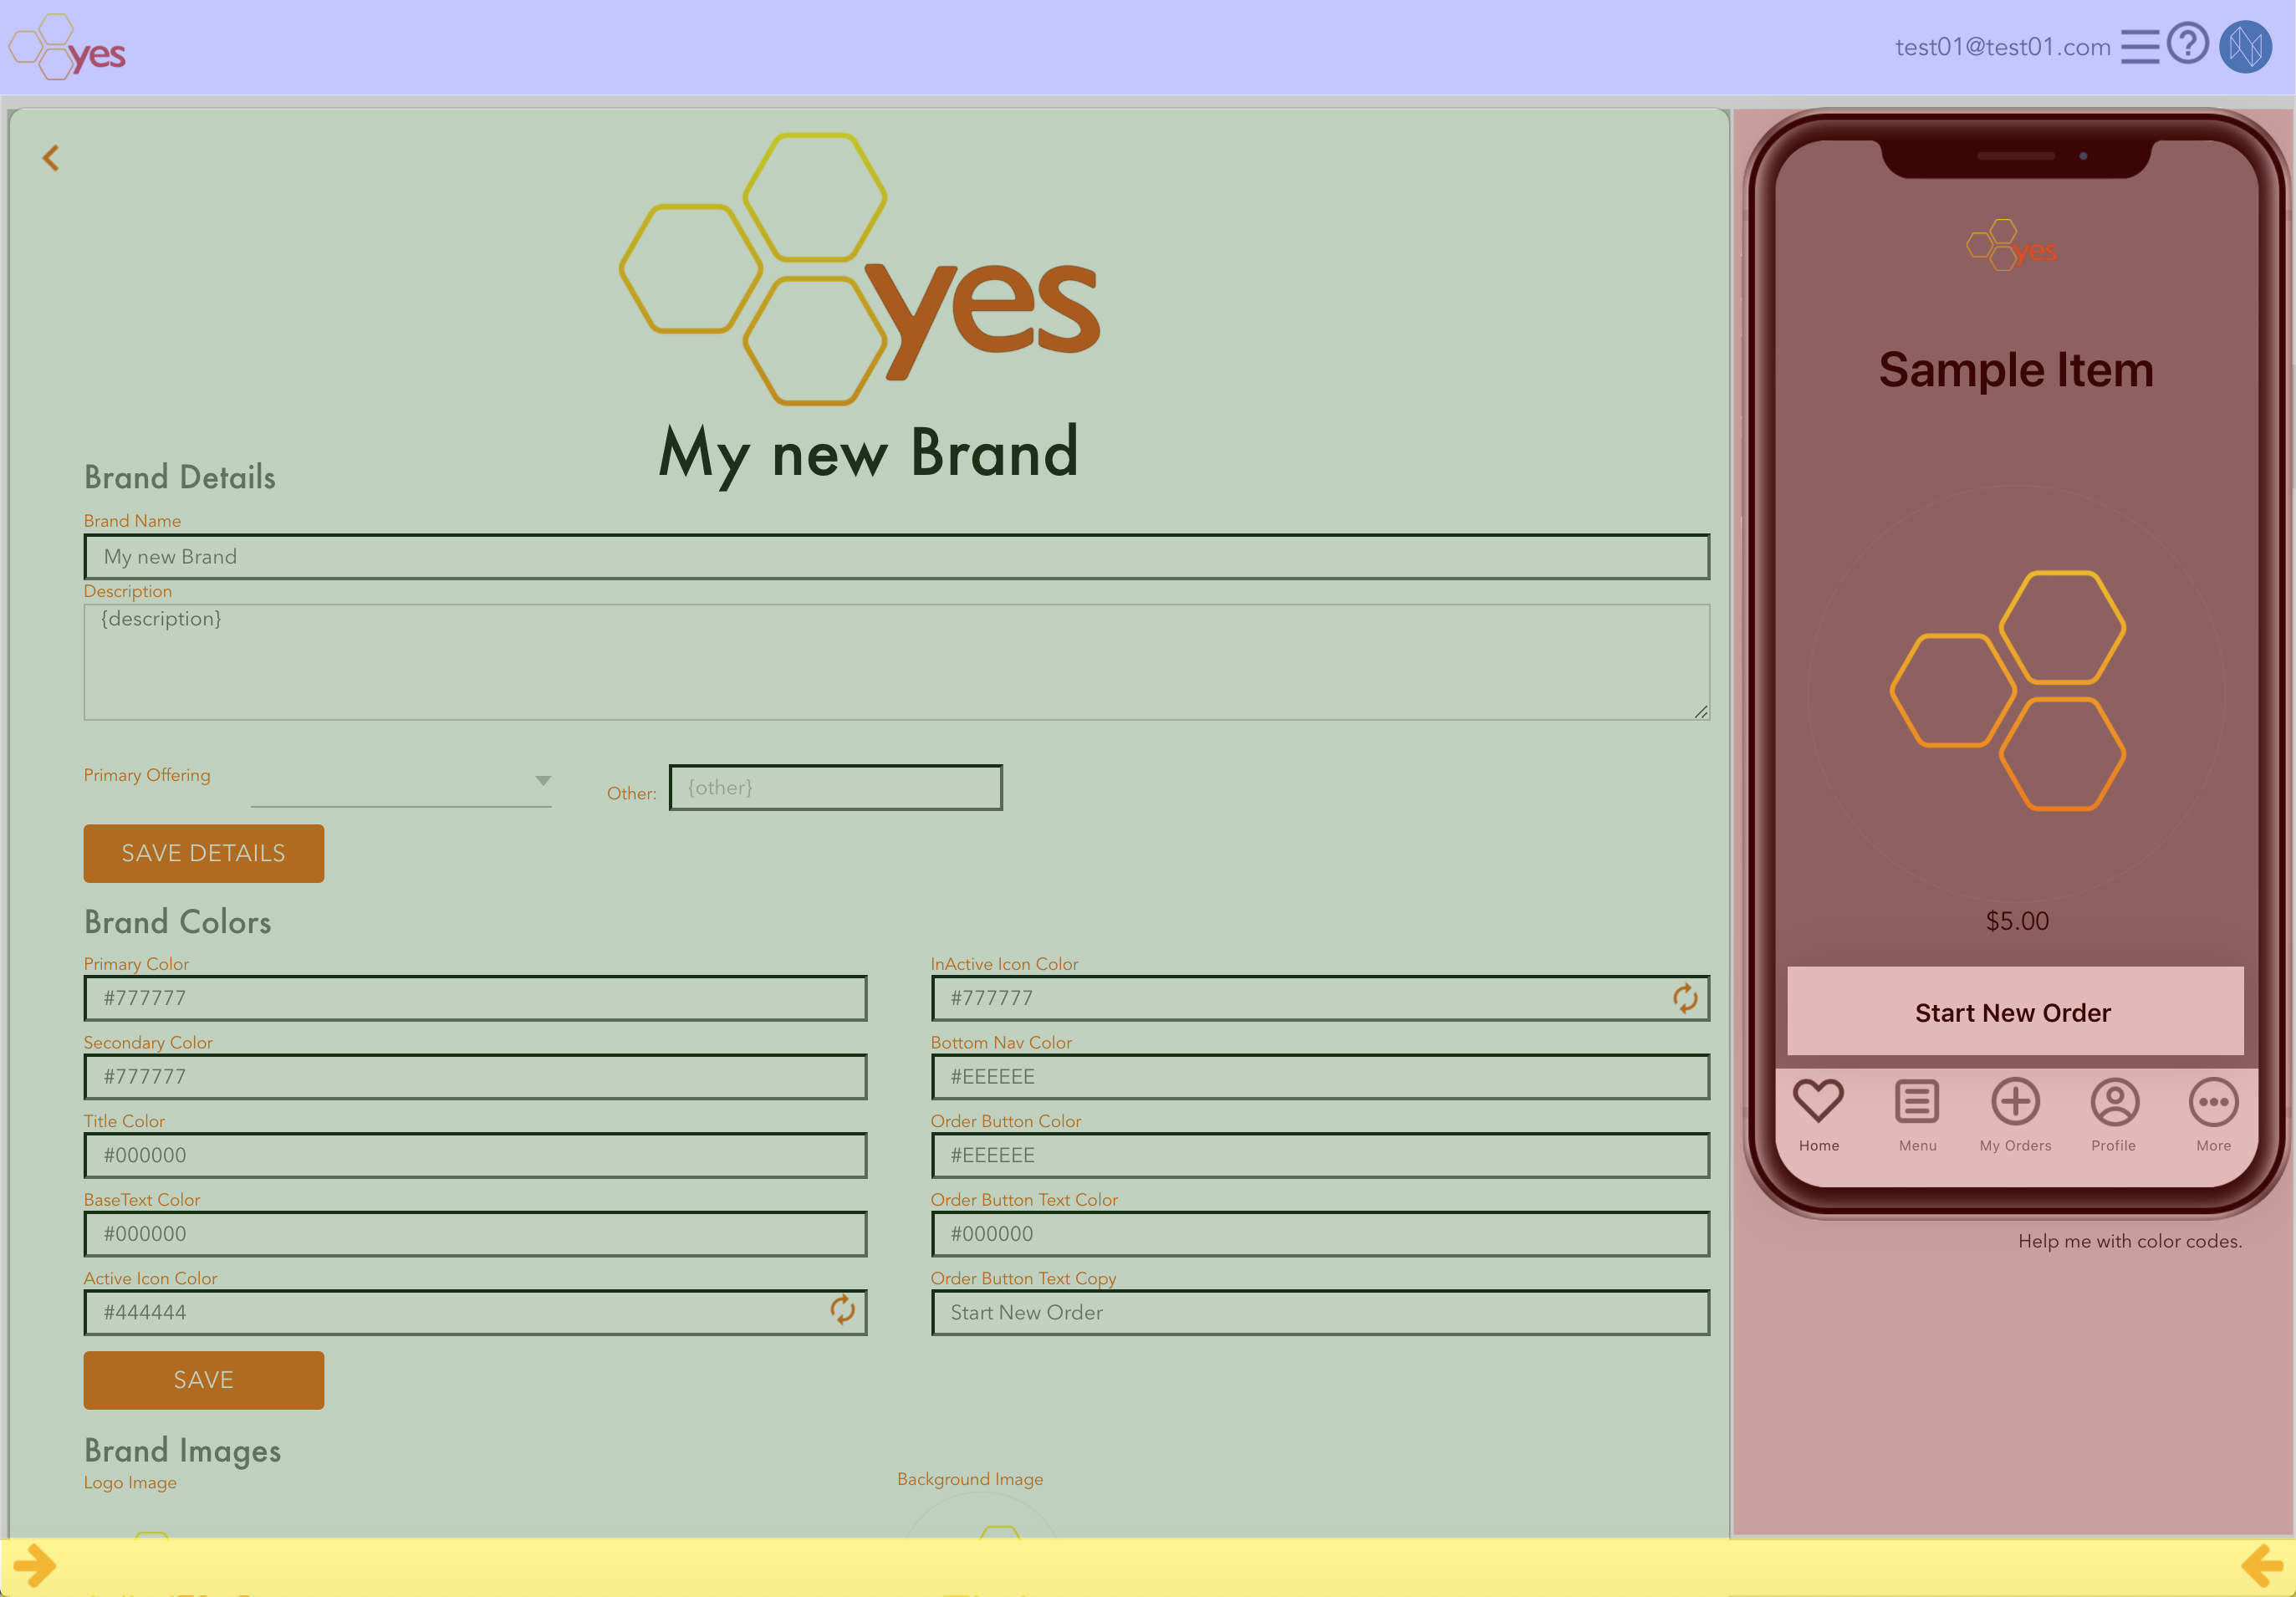
The Brand Details screen is the most complex of the screens on build.yesoms.com. It is here that you will set your brand’s name, description, colors, images, and menus.
The screen is broken down into four sections, with two more hidden sections (more on that in a moment):
-
Blue: The screen header, which is described on the main page walkthrough.
-
Green: The main section of the screen, here is where you set your variables. We will get into that in more detail below.
-
Red: The app mockup, this will update with any changes you make on the main section. Note that this is just a mockup, and the actual results may look a bit different.
-
Yellow: The screen footer - note the two arrows on this section, they are very important. They reveal the left and right drawer for your brand, like this:
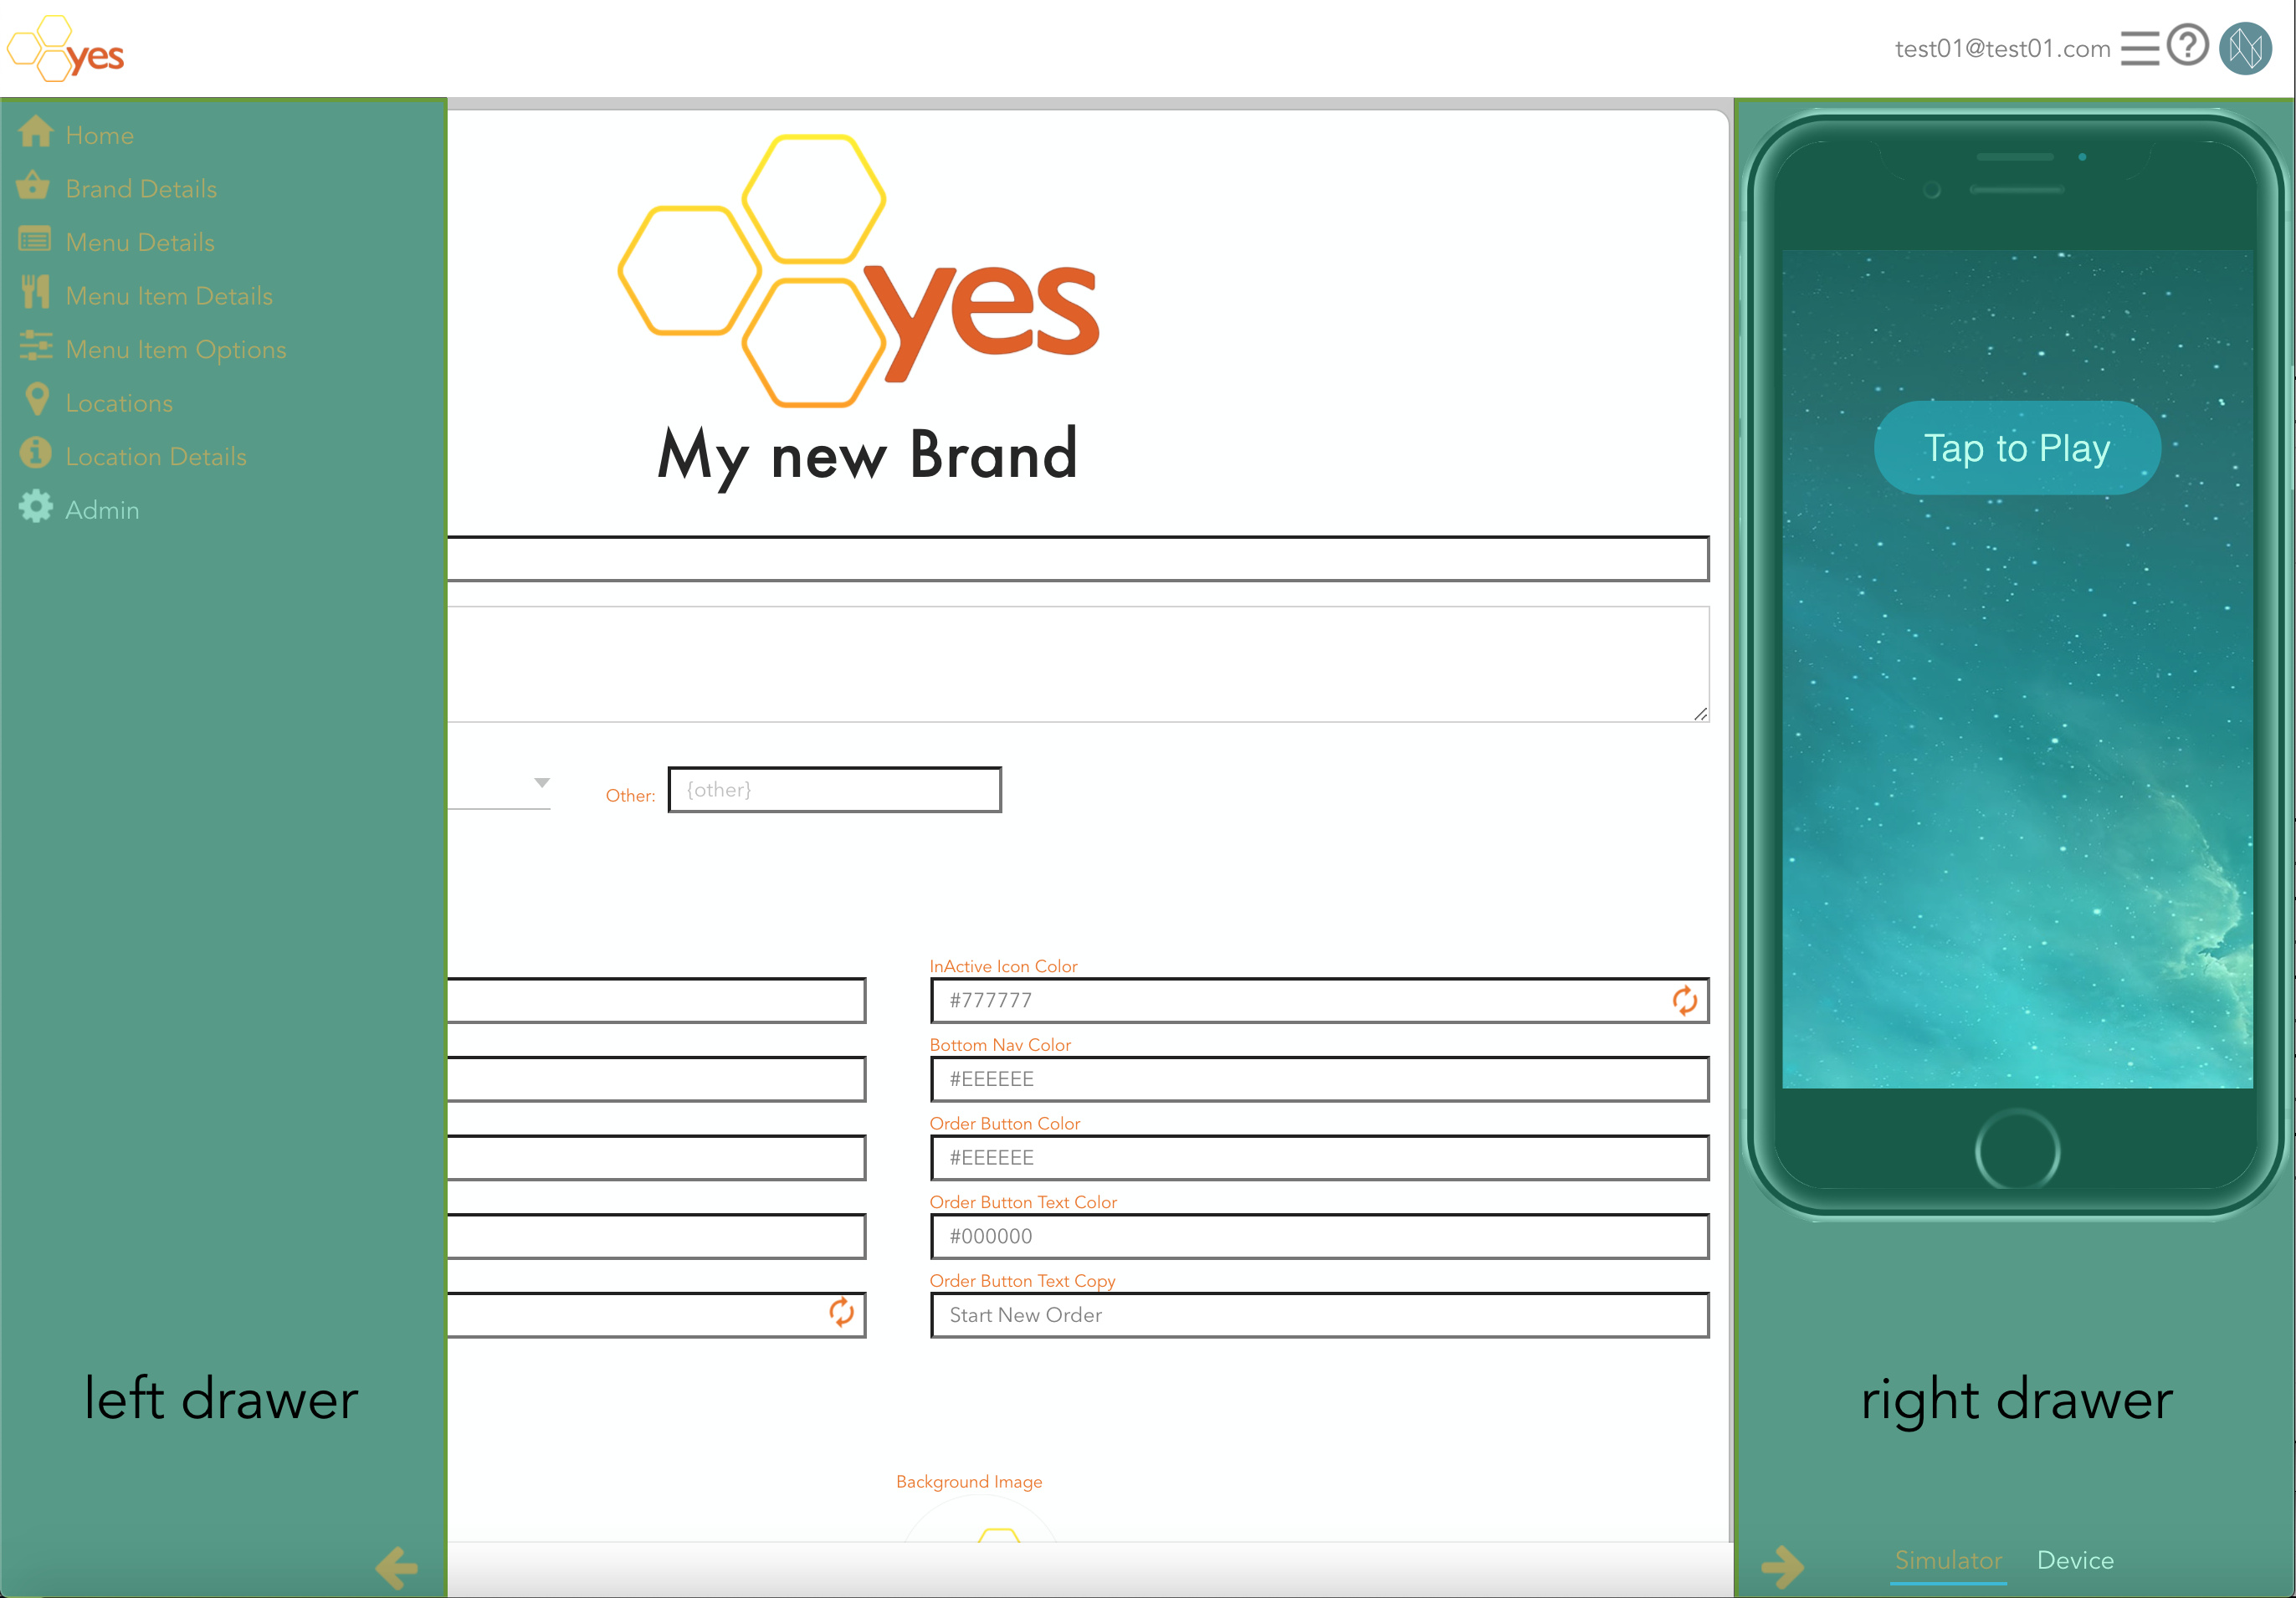
The Left Drawer
This is opened with the arrow in the lower left corner of the screen and closed with the same arrow. This shows you where you are, and allows you to navigate between screens.
The Right Drawer
This is opened with the arrow in the lower right corner of the screen and closed with the same arrow. This drawer contains the simulator as well as the link to the device preview. To learn more about that, check out the Right Drawer Walkthrough.
The Main Section
The Brand Details main section is divided into several sections:
- Brand Details - Brand name and description
- Brand Colors - App background colors, Title Colors, Text Colors, Icon colors, etc.
- Brand Images - for logos and backgrounds
- Menus - for adding menus and menu items to your app.
- Previewing and Publishing - details on how to view your app.
Brand Details

This is relatively straight forward; enter the name of your brand as well as a description of your brand. The description will be used in the app store when it comes time to publish your app.
Brand Colors

Provide the color codes for your app’s various colors;
- Primary (background), Secondary (also in the background)
- Title Color (the color of the fonts for various Menu Titles)
- Base Text Color (the color of various text elements within the app
- Active Icon Color (the color when a navigation icon is active)
- Inactive Icon Color (the color when a navigation icon is inactive)
- Bottom Nav Color (the color of the navigation bar at the bottom of the app)
- Order Button Color (the color of the “submit your order” button)
- Order Button Text Color (the color of the text on the “submit your order” button)
- Order Button Text Copy (the words that display on the “submit your order” button)
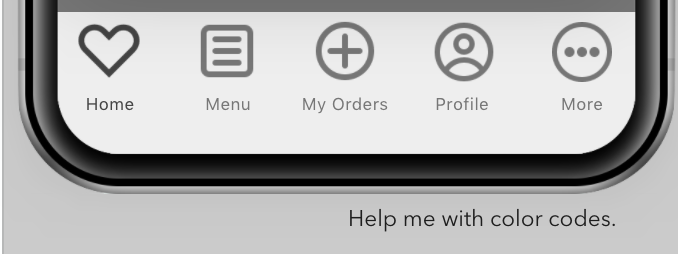
Note - if you don’t know how color codes work, click / tap on the text that says “Help me with color codes” below the app mockup on the right side of the screen:
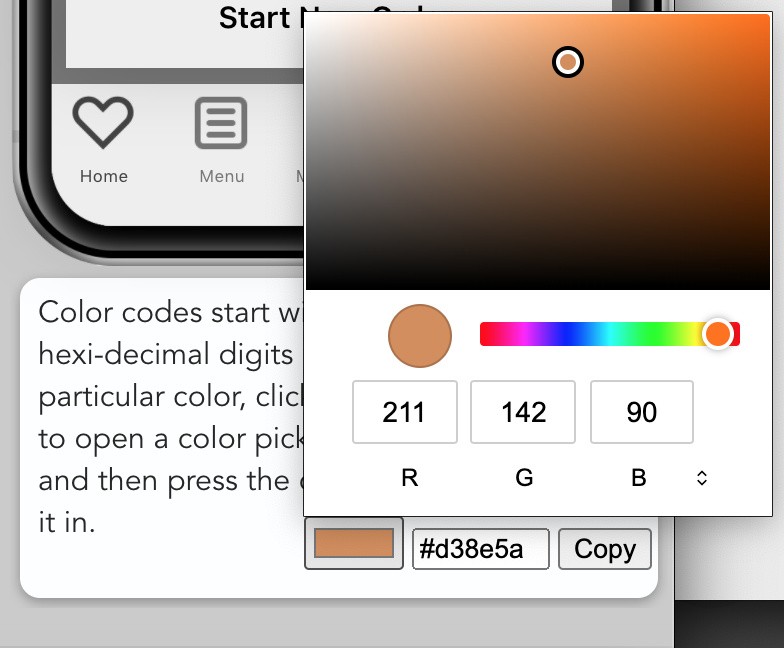
…which will provide a tool to help you find a color code for any color you would like to use:
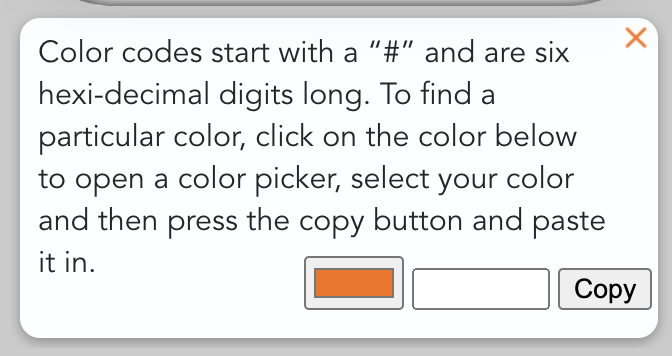
…just click / tap on the color box, choose a color from the color chooser, hit the ‘enter’ key, and paste the associated color value into the field you would like to set (in this example, the color code would be ‘#d38e5a’):
Note - although you will see updates of the various colors on the mockup, the color values will not be saved until you click / tap the “Save” button.
Brand Images

Upload images of your Logo (on the left) and a background for the home screen (on the right). Note that logo images should be as close to square as possible, and that background images should be portrait orientation instead of landscape orientation. Some clipping of images may occur to get them to fit the various spots on your app.
Menus

Menus are critical to your app, as they provide access to the menu items you have for sale on your app. Multiple menus are NOT necessary, but you must have at least one.
-
Creating a menu:
To create a menu, provide a menu name in the {name} field and click / tap the plus button (
 ).
).
-
Renaming or reordering a menu:
Once the menu is created, you may rename it by clicking / tapping on the Menu’s name, and providing an alternate name for it. You can also choose to reorder your menus by selecting several in the same fashion and then providing an order in the {order} field. (‘1’ will be at the top, followed by 2, 3, etc.) Save that new name and/or ordering with the save icon ( ).
).
-
Managing a menu:
You may manage it from the “Menu Screen” which is accessed by clicking / tapping the edit icon ( )
) -
Removing a menu:
You may also choose to remove a menu by clicking / tapping the trash icon ( ).
).


Previewing and Publishing

You can preview your app using the Right Drawer Tools, and while publishing your app to the app store is coming, it’s not ready yet, instead you should just email us at publish@yesoms.com to handle the publishing for you. Publishing will have some minor costs ($100) associated.
The app mockup
This will update with any changes you make on the main section, but you will need to click / tap the “Save” button for changes to save to the servers. Note that this is just a mockup, and the actual results may look a bit different on a device.